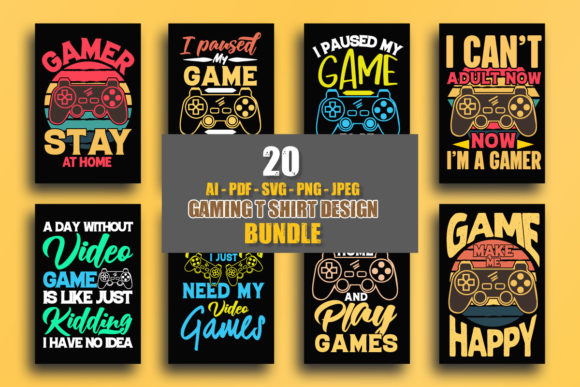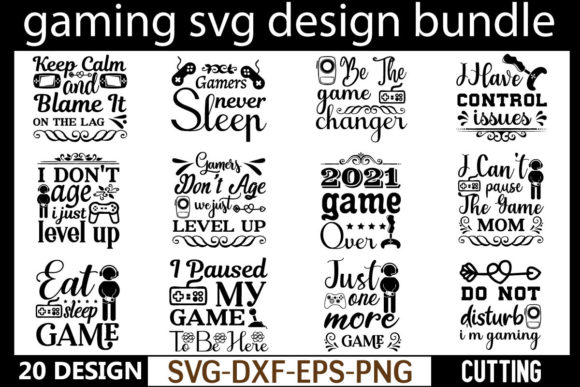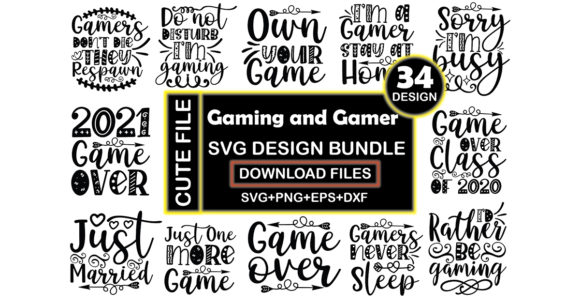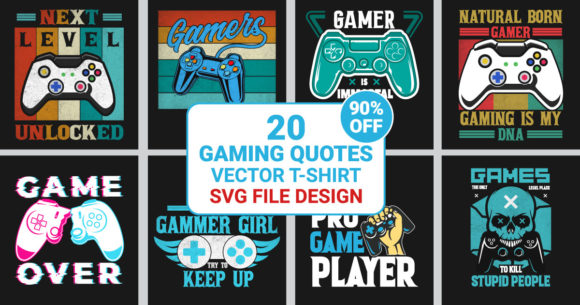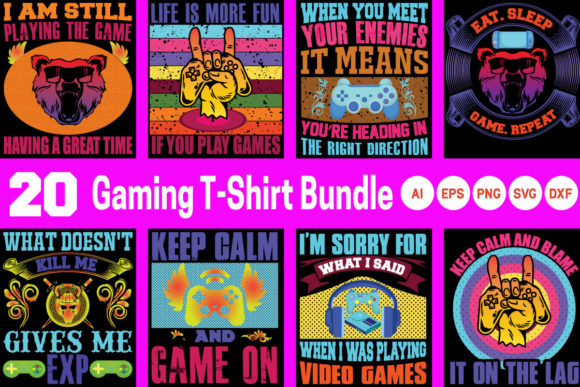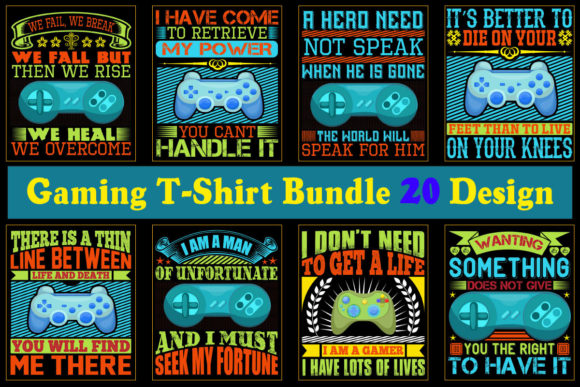
Everything You Need for Gaming Merch: Unpacking the Gaming T-Shirt Design Bundle
Whether you're a content creator building your brand, a small business launching a new product line, or a hobbyist looking for a fun personal project, the world of custom apparel holds a lot of appeal. Specifically, for gaming enthusiasts, having wearable art is a powerful way to express identity and community. This brings us to the Gaming T-Shirt Design Bundle. It’s a curated collection of digital design files, offering everything you need to print professional-quality gaming-themed shirts. The bundle is priced at just $5, representing a significant 23% savings, which immediately makes it an attractive proposition. But before you click that download button, let’s talk about what this really means for you and how to get the best possible results without running into common, and often costly, pitfalls.
Understanding the Value Beyond the Price Tag
The primary appeal of a bundle like the Gaming T-Shirt Design Bundle is its convenience and apparent cost-effectiveness. For a low fee, you receive a suite of files in multiple formats: SVG, DXF, PNG, AI, and EPS, all at specific sizes (15” and 18”) and a high resolution of 300 dpi. This is designed to cover most common use cases from digital design software to direct input for cutting machines and print shops. However, a common mistake is downloading the bundle with a mindset of "this solves everything." The bundle provides excellent raw materials, but the final quality of your printed t-shirt depends heavily on your understanding and application of these files.
Many beginners overlook the significance of the different file formats included. They might gravitate towards the simple PNG because it's easy to view, but then attempt to scale it for a larger print, resulting in a pixelated, blurry image on the final shirt. The bundled PNGs are provided at a fixed high resolution, which is excellent for their intended size, but they are not inherently scalable like the vector files. The real power of this bundle lies in the vector formats: SVG, AI, EPS, and DXF. These files describe images using mathematical paths, meaning you can resize them to any dimension—from a small logo on a sleeve to a massive back print—without any loss in quality. Not leveraging these vector files is a missed opportunity for versatility and professional output.
Critical File Format Choices for Different Applications
So, how do you avoid this mistake? Start by aligning your chosen file format with your production method.
If you are sending the design to a professional print service like a screen printer or a DTG (Direct-to-Garment) operator, they will almost always request a vector file. The AI or EPS files from the Gaming T-Shirt Design Bundle are industry standards here. Sending a PNG might be accepted, but it limits their ability to make adjustments and ensure perfect color separation, potentially leading to extra fees or a subpar print.
If you are using a personal cutting machine, like for vinyl heat transfer, the DXF or SVG files are your go-to choices. These formats are perfect for the software that drives these machines, allowing for clean, precise cuts of your design elements. Using a PNG here would simply not work.
And if you are working within your own design software to combine elements, add text, or create a composite layout, opening the native AI file in Adobe Illustrator, or the SVG in a free alternative like Inkscape, gives you complete creative control. You can edit colors, separate layers, and integrate the design seamlessly into a larger artwork. Treat the bundled files as your foundational components, not just as final, static images.
The Resolution and Size Specification: More Than Just Numbers
Another easily glossed-over detail is the "300 dpi" and "15” 18”" specification listed for every file in the Gaming T-Shirt Design Bundle. People often assume this means all files are simply "high quality," without understanding the practical implication. DPI (dots per inch) is a measure of raster image density. For the bundled PNGs, being 300 dpi at 15 inches means the image contains enough pixel data to print sharply at that specific size. If you try to print that same PNG file at 20 inches, you are effectively spreading the same number of pixels over a larger area, lowering the effective DPI and introducing blur.
The advice here is straightforward: use the PNG files at their intended size or smaller. For any project requiring a larger print, default to the vector files (SVG, AI, EPS). They are resolution-independent. This pre-check before sending a file to print can save you from the disappointment of receiving a box of shirts with fuzzy graphics, a situation that is costly and time-consuming to rectify.
Auditing Your Final Output Checklist
Before finalizing your order with a printer or committing to a DIY project using this bundle, run a quick audit. First, confirm your production method and match it with the correct file format from the Gaming T-Shirt Design Bundle. Second, if using raster files (PNG), double-check that your intended print size does not exceed the file's native dimensions (15” or 18”). Third, open the vector files in your design software and verify that all elements are clean, with no stray points or open paths, especially if you’ve made edits. A small technical glitch in a vector file can cause a cutting machine to error or a print shop to reject the file.
Finally, consider color. While the bundle provides the designs, the color profile of your digital file and the capabilities of your printer (whether it's CMYK for commercial printing or RGB for some DTG processes) need to align. A vibrant neon blue in your SVG might not translate perfectly to fabric if not managed correctly. A better approach is to consult with your printer about their color requirements and use your editable vector files to adjust accordingly before submission.
Beyond the Bundle: Integrating Designs into a Cohesive Product
A final, more strategic mistake is viewing the Gaming T-Shirt Design Bundle as a standalone product. The designs are assets. Their success depends on how you integrate them into a broader merchandising or personal project. For entrepreneurs, this means considering shirt quality, color, fit, and target audience alongside the design itself. A fantastic graphic on a poorly chosen, uncomfortable shirt will still fail. For creators and bloggers, it means thinking about the design’s relevance to your community and pairing it with smart marketing.
The practical advice is to use these high-quality files as the cornerstone of a well-planned process. Start with the bundle to secure your artwork efficiently, then focus your energy on selecting the right garment supplier, understanding your printing options, and planning your launch or distribution. This balanced approach ensures the $5 investment in the Gaming T-Shirt Design Bundle amplifies into a professional, satisfying end product that reflects well on you or your brand.
In essence, the Gaming T-Shirt Design Bundle is a powerful tool that removes the heavy lifting of original design creation and provides versatile, professional-grade files. Its value is unlocked not just by downloading it, but by applying it with informed intention. By avoiding the common pitfalls of format misuse, size misunderstanding, and pre-production oversight, you can transform this affordable bundle into sharp, scalable, and successful gaming apparel that truly hits the mark.